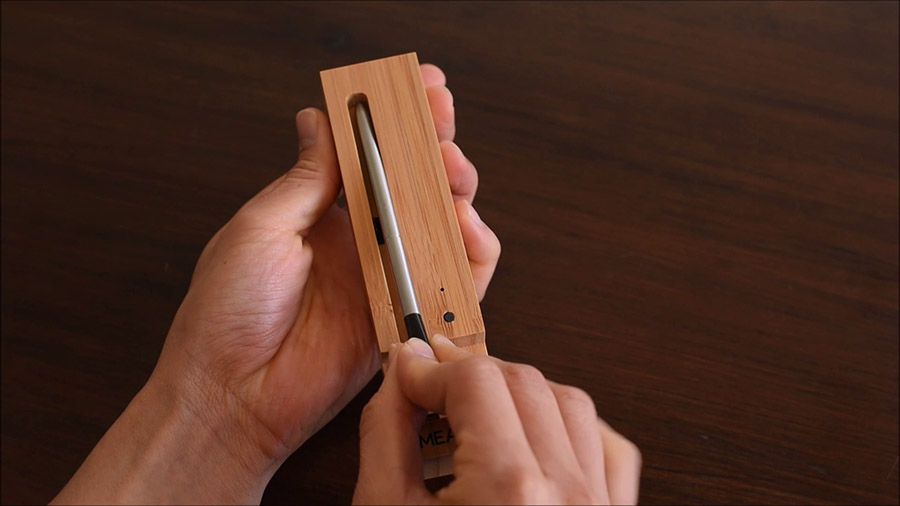
Learn about the in’s and out’s of MEATER, the world’s best wireless meat thermometer!
The MEATER probe contains a built-in rechargeable battery, and is charging when docked in the charger.
The charger is powered by a single AAA battery, which will last upwards of a year.
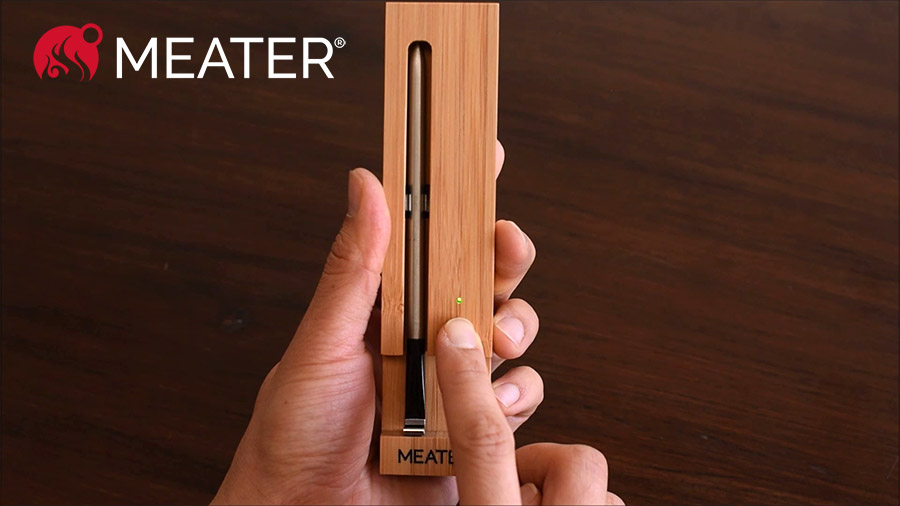
You can check to make sure your charger has power by pressing the small button on the front. If you see a green light come up, this means that your charger is powered up and ready to go.
To replace the battery, remove the magnetic panel located on the back of the charger, then lightly pull on the “battery release” tab to dislodge the battery.
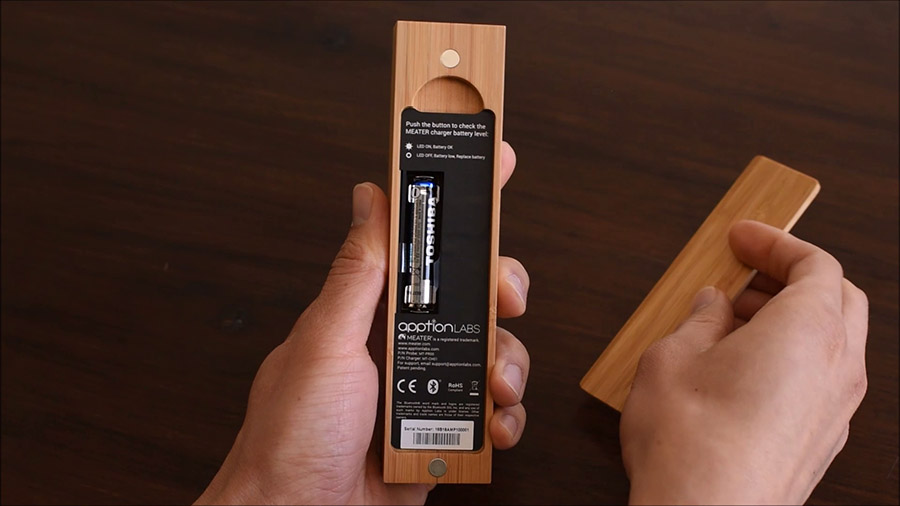
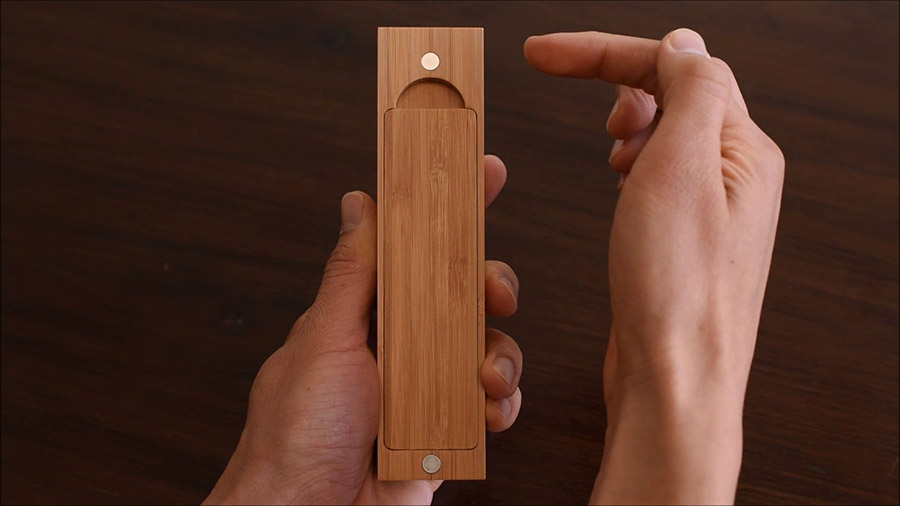
On the back of the charger, you’ll also find two external magnets, which can be used to attach MEATER to your fridge, grill, oven, or any surface made of iron, nickel or cobalt.
To Turn the device on, simply pull the probe out of the charger.
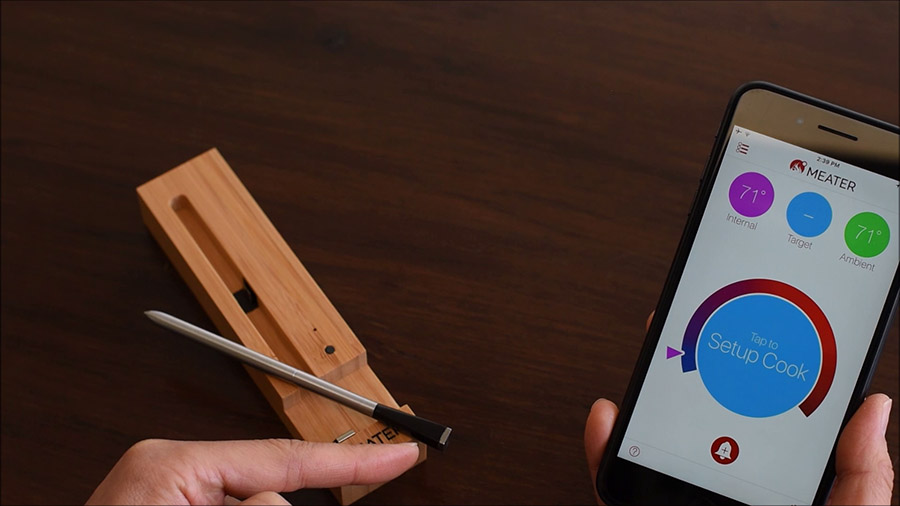
To start a cook, launch the MEATER app and select the active probe to reach the main cook screen.
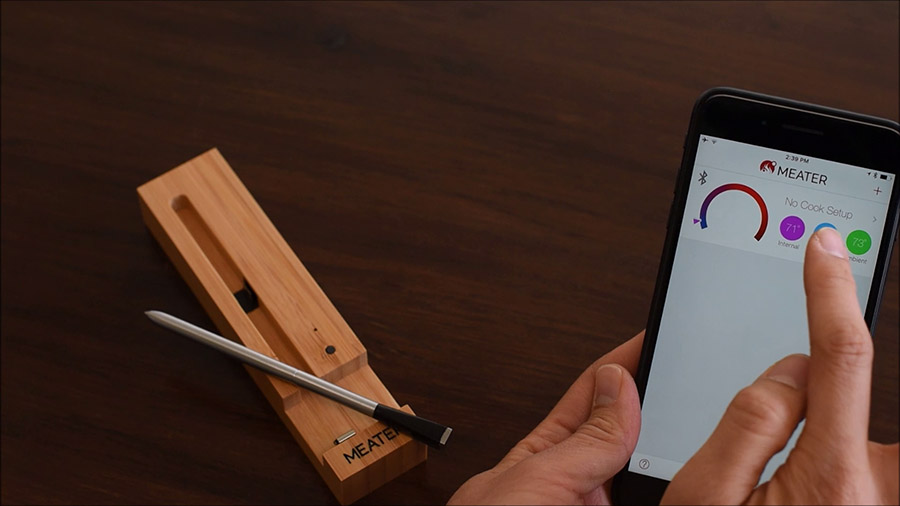
The pointy end of the probe is inserted inside the meat and measures the internal temperature.
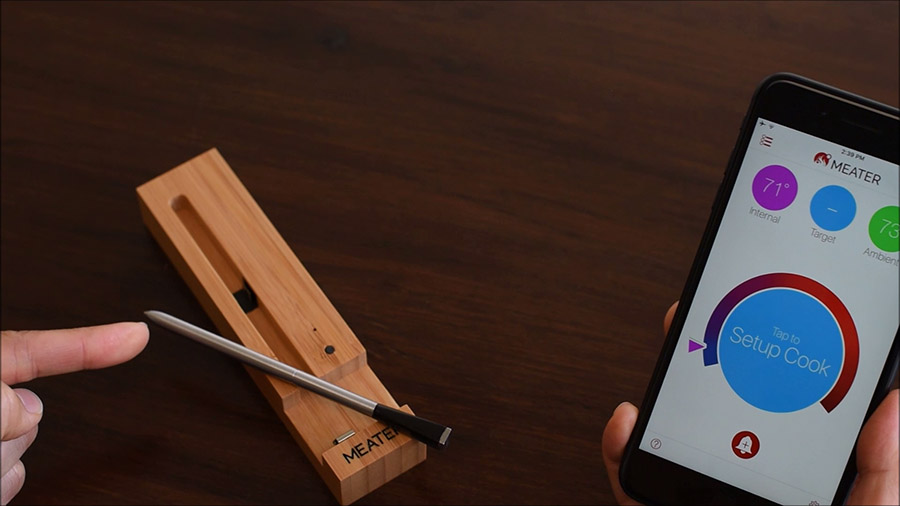
The ceramic handle on the opposite end of the probe measures the ambient temperature around the meat.
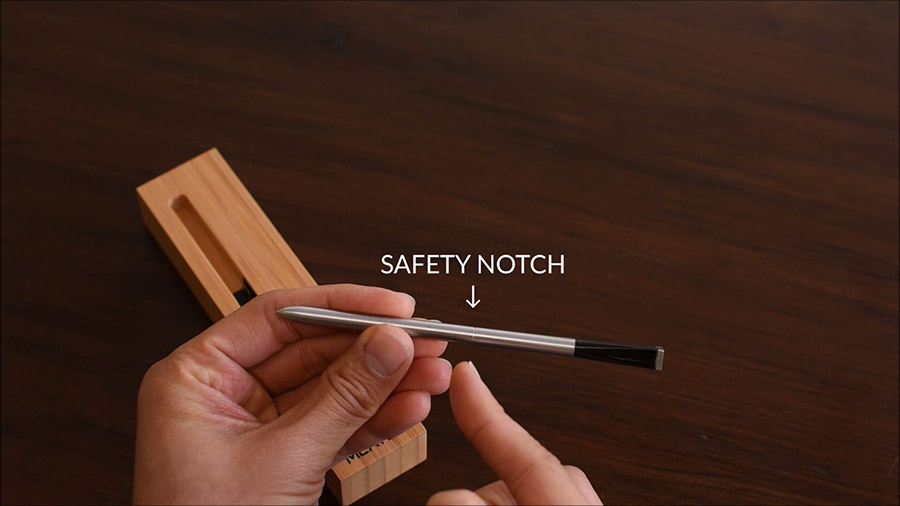
To protect MEATER’s electronics from high heat, be sure to insert the probe into the meat past the safety notch.
To turn the device back off, place it back in the charger, tip first.
